I have been so busy getting ready for the holidays but I want you to know that I always think of you. Happy holiday to all of you! I want you to know that I appreciate you for sharing this journey with me. When I started this blog I had no idea that I would have so many subscribers and followers. I am really touched that you have chosen to make me a part of your life's journey. I hope that I continue to inspire you.
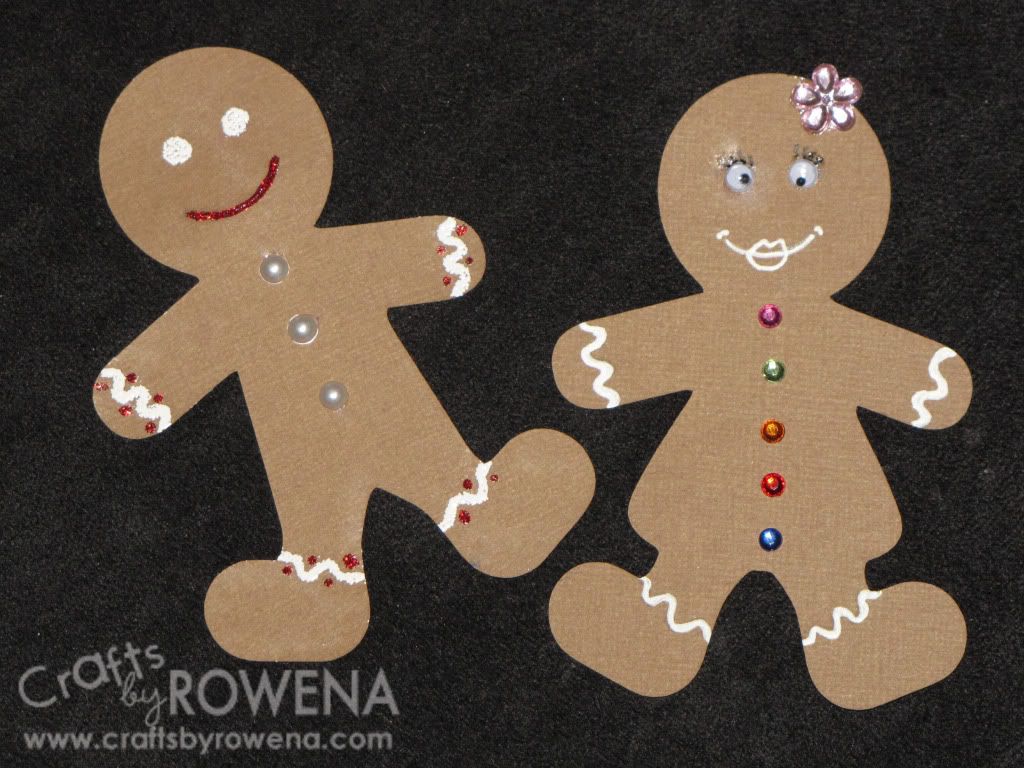
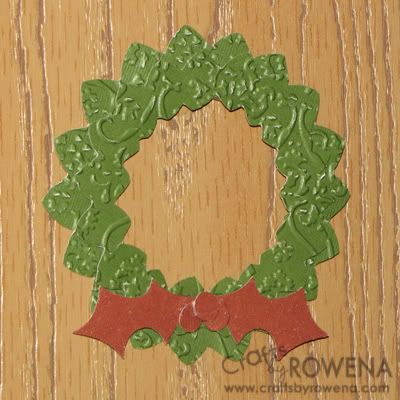
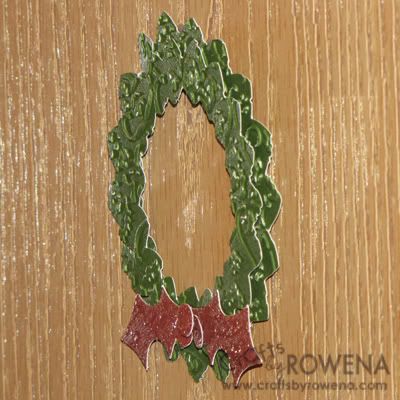
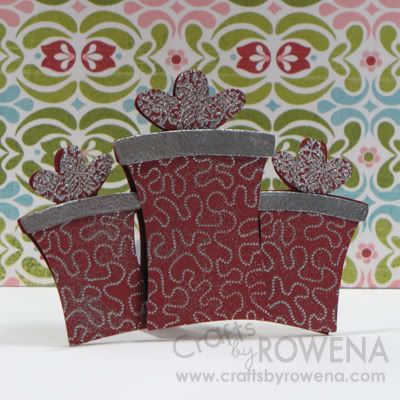
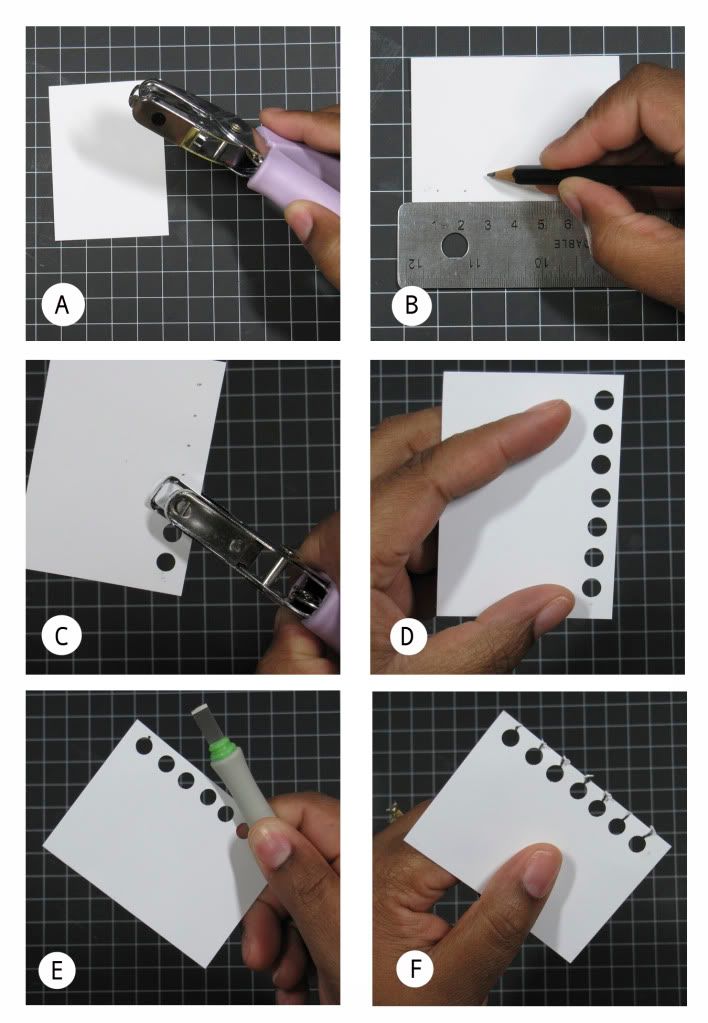
More and more of you are downloading my SVG files and I am excited about that. Leave a comment sometime with some feedback. I have been trying to design more 3-D SVG files so that they can add more interest to your projects. I would appreciate it if your let me know what you think about those designs. I also would like to know if you prefer the old way I showed the SVG files or if you like it when I actually make something and show how I use the design.
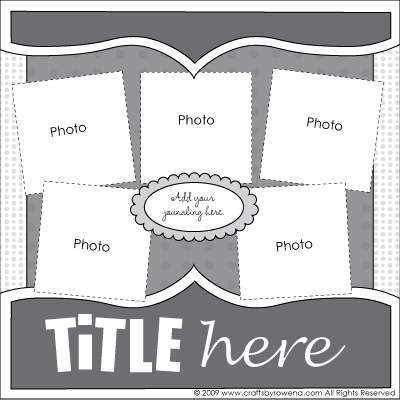
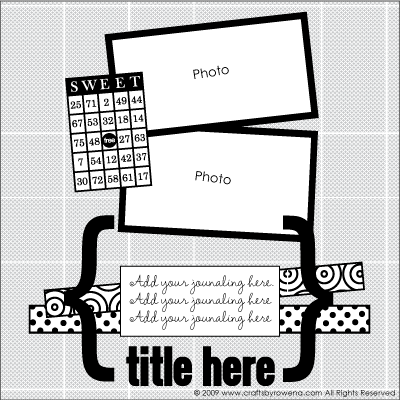
I will be posting 2 layout sketches later today and tomorrow, I will unveil some blog candy. Free goodies! You are going to love it! I will give complete instructions on how you can enter to win when I post the video.
I have recently added a blinkie to the blog. You can see it over on the right. To show your support for Crafts by Rowena add it on to your blog. That is also one of the ways you can earn an entry to win the blog candy. When you add the blinkie to your blog just leave a comment with the link to your blog and you have one entry.
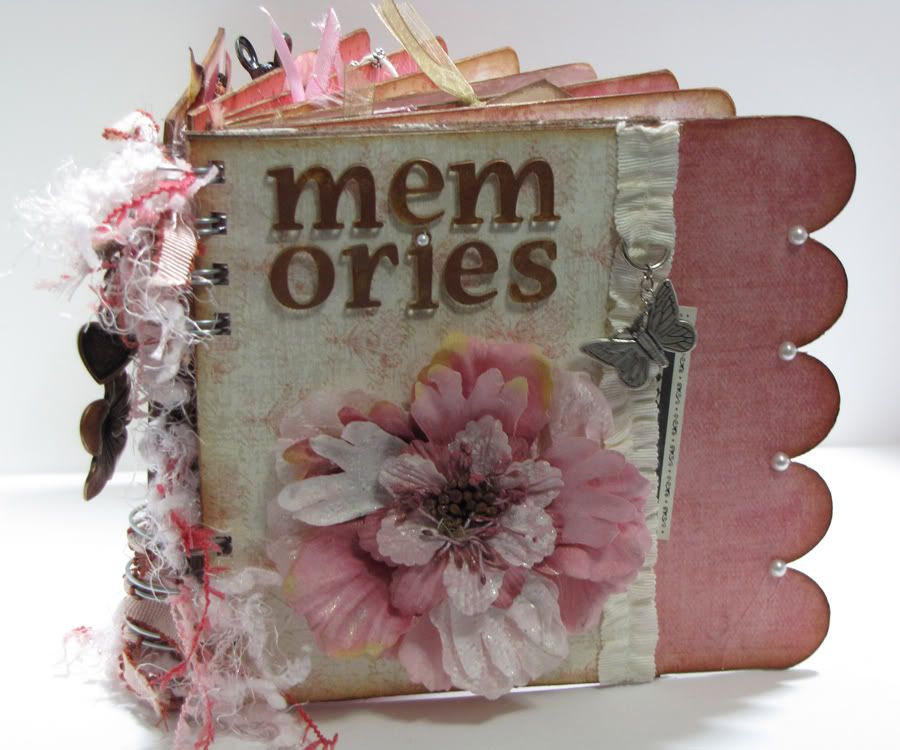
- Let your memories feed your creativity™