FREE Sketch Wednesday #21

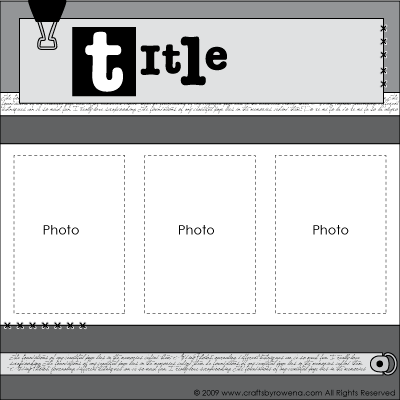
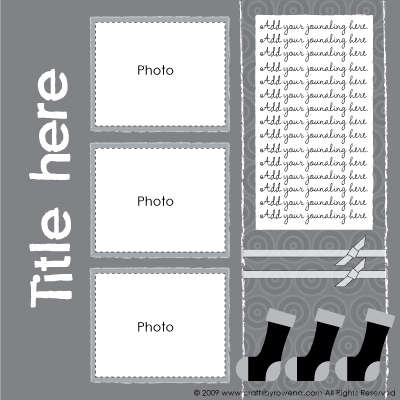
I hope everyone had a great Holiday. With Thanksgiving and Christmas I know their are memories you would like to scrapbook. Today's layout is designed to fit 3 photos and lots of space for journaling.


Rowena's Quick & Easy Crafting Tip

  One of the things that is very easy to do in scrapbooking but is not done often is tearing. The patterned paper in the layout is torn on both sides.

Distress your photo mats with a distressing tool for added interest.

➌  To get even more use out of this layout twist it in different directions to create a double pale layout.


- Let your memories feed your creativity™

FREE SVG Monday: Gingerbread People

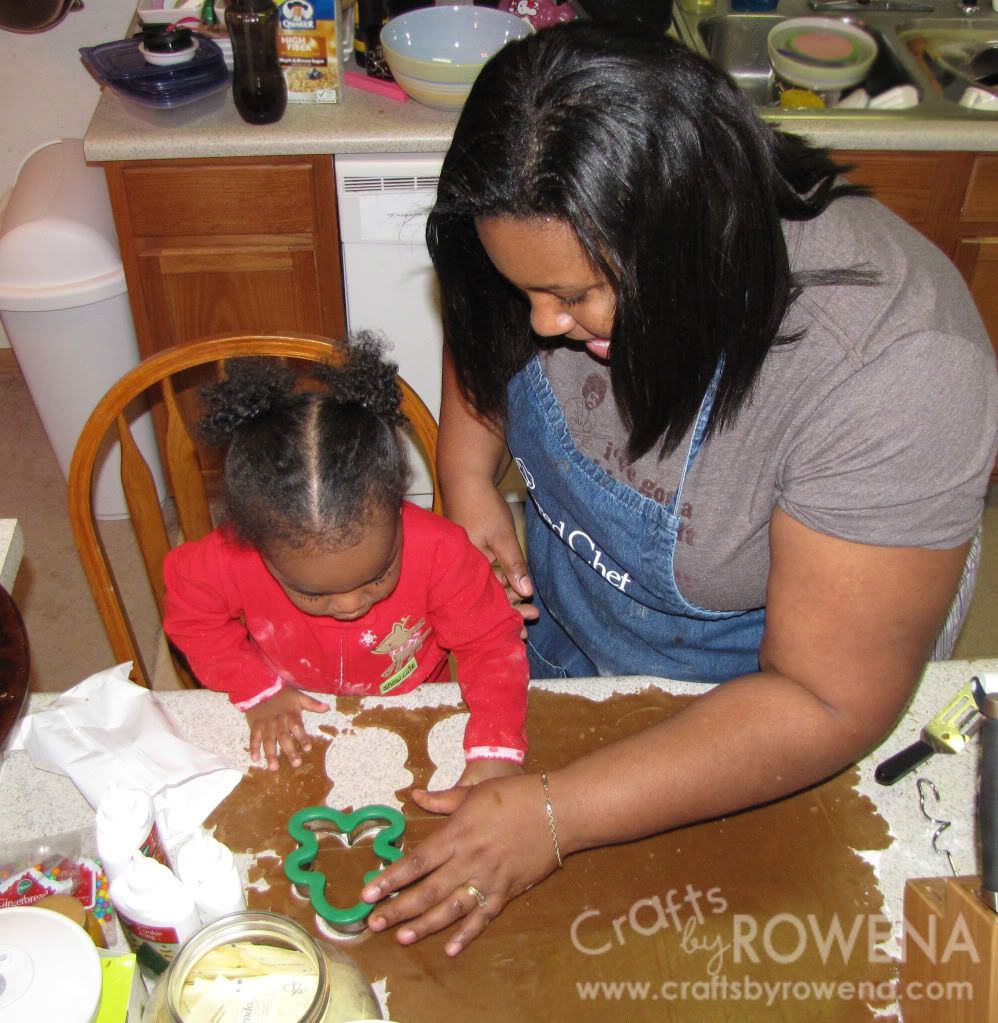
The night before Christmas we like to make gingerbread people. My 19 month old daughter was so happy to help mom in the kitchen. My son who used to love cooking with me is now too "old" for that he said. He did finally show up when the decoration was done and they were ready to eat. Even though he did not prepare it with the two of us while dad took pictures he really appreciated having a delicious treat made with love.


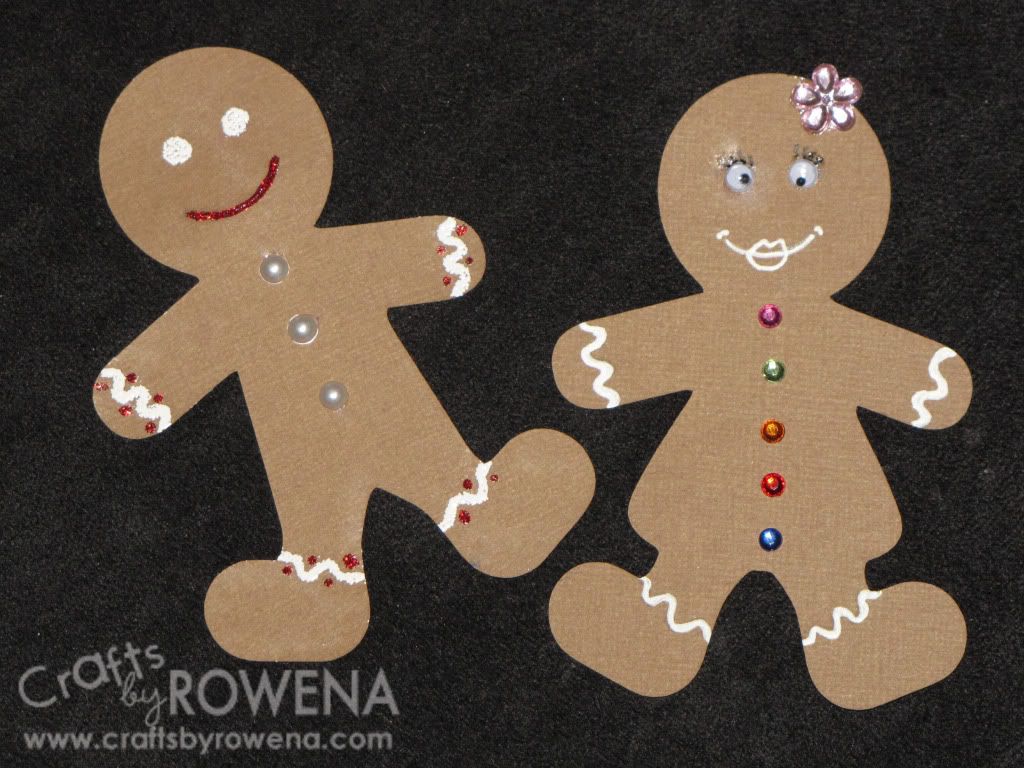
I had so much fun making those gingerbread people that I wanted to share that experience with you. The SVG today is very basic - a gingerbread shaped boy and girl. They are a canvas for you to create whatever your memories inspire you to do. This is how I used this week's design.


Click here to download your FREE SVG file.

Rowena's Quick & Easy Crafting Tips
There are many way to decorate your gingerbread people. You can make it a simple or complex as you like.

  The white swirls on the boy was done using an embossing pen and embossing powder whereas the lines on the female was made by a white gel pen.

  Use stickles to draw on your project. I have learned that hard way that you should lightly pencil what you are going to draw with the stickles before you actually apply the stickles to the project..

  Be totally creative doing whatever you feel.

- Let your memories feed your creativity™

FREE Sketch Wednesday #20

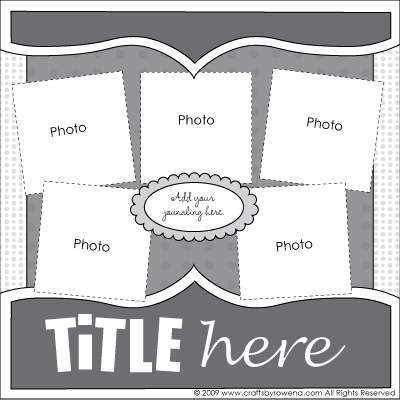
Well as I promised in my earlier post here is today's double sketch. Enjoy!

Sketch #1
 
 
Rowena's Quick & Easy Crafting Tip

  If you use stickers or even chipboard pieces you may have the negative space. If it is chipboard cover it with paint or paper to add to your layout and mix it with regular sticker or chipboard pieces.
 
 
Sketch #2


  For added interest use two different fonts for for your title.


- Let your memories feed your creativity™

Happy Holidays

I have been so busy getting ready for the holidays but I want you to know that I always think of you. Happy holiday to all of you! I want you to know that I appreciate you for sharing this journey with me.  When I started this blog I had no idea that I would have so many subscribers and followers. I am really touched that you have chosen to make me a part of your life's journey. I hope that I continue to inspire you.

More and more of you are downloading my SVG files and I am excited about that. Leave a comment sometime with some feedback. I have been trying to design more 3-D SVG files so that they can add more interest to your projects. I would appreciate it if your let me know what you think about those designs. I also would like to know if you prefer the old way I showed the SVG files or if you like it when I actually make something and show how I use the design.


I will be posting 2 layout sketches later today and tomorrow, I will unveil some blog candy. Free goodies! You are going to love it! I will give complete instructions on how you can enter to win when I post the video.

I have recently added a blinkie to the blog. You can see it over on the right. To show your support for Crafts by Rowena add it on to your blog.  That is also one of the ways you can earn an entry to win the blog candy. When you add the blinkie to your blog just leave a comment with the link to your blog and you have one entry.

- Let your memories feed your creativity™
FREE SVG Monday: Ornament

Today's SVG design was inspired by Christmas. It is so much fun seeing all the decorations and the many ways people interpret Christmas. I decorated my Christmas tree in purple (my favorite color) and gold. So I designed this ornament to coordinate with mt decorations but as you know you can cut this SVG file in any color and any size to fit your needs.


Click here to download your FREE SVG file.

Rowena's Quick & Easy Crafting Tips

  To add interest and dimension use dimensionals to pop up various parts of the design and add glitter. You can never go wrong with a little glitter.

  I included the word joy (not included in the SVF file) on the ornament for some added interest. You can personalize it to use as an ornament on a tree, on a card or a scrapbook page.

  When adhering items over glitter or slick surfaces make sure to use a strong adhesive such as glossy accents by Ranger or Gloo by KI Memories.

- Let your memories feed your creativity™ 

FREE SVG Monday: Wreath

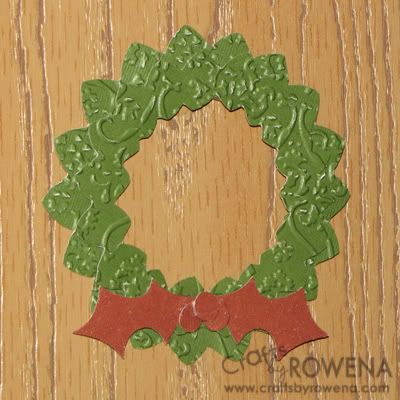
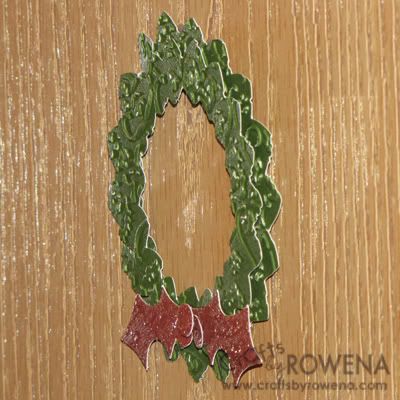
Today's SVG design was inspired by my husband. Well, actually I asked him what I should design and he told me a wreath. You can make the wreath as big or as little as you like. I placed mine on my stocking and it looked great. I used dimensionals to pop up the various cuts as you will see in the second photo. I love designing 3-D designs for you. You can enjoy this design on any project.


Click here to download your FREE SVG file.

Rowena's Quick & Easy Crafting Tips

  To add interest and dimension run your die cut through the embossing machine with you favorite embossing folder.

  For a little shine use Rock Candy stickles by Tim Holtz. It's not all glittery, it gives it just the right amount of shine.

I see that there are many download of the SVG files. If you complete a project using this free file send me a link of your project. I would love to see what you do with this SVG file.

- Let your memories feed your creativity™ 
Pink Mini for Susan G. Komen Foundation

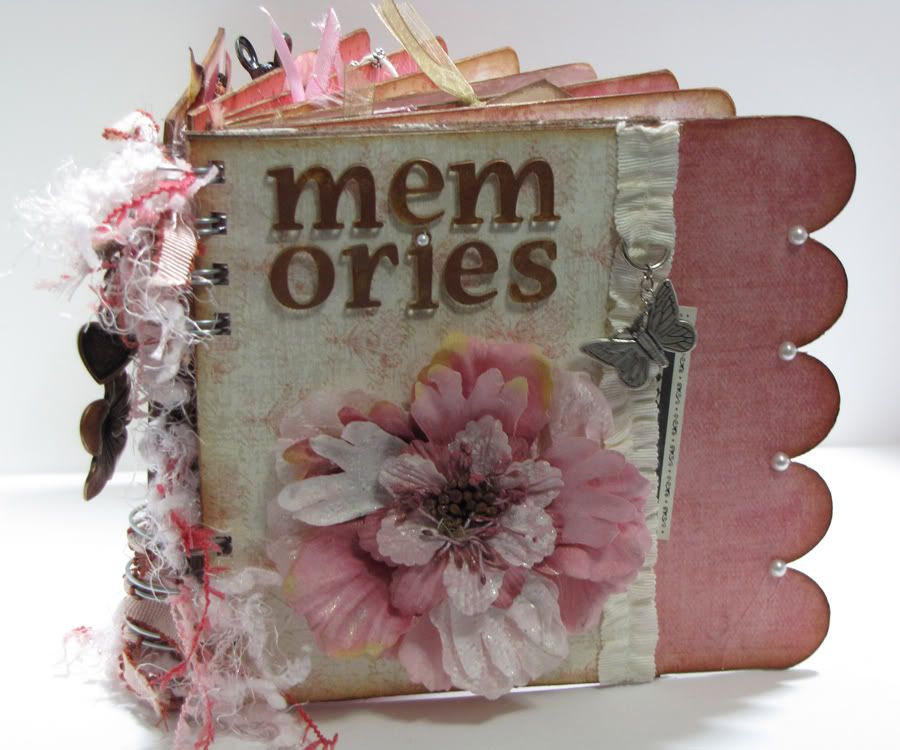
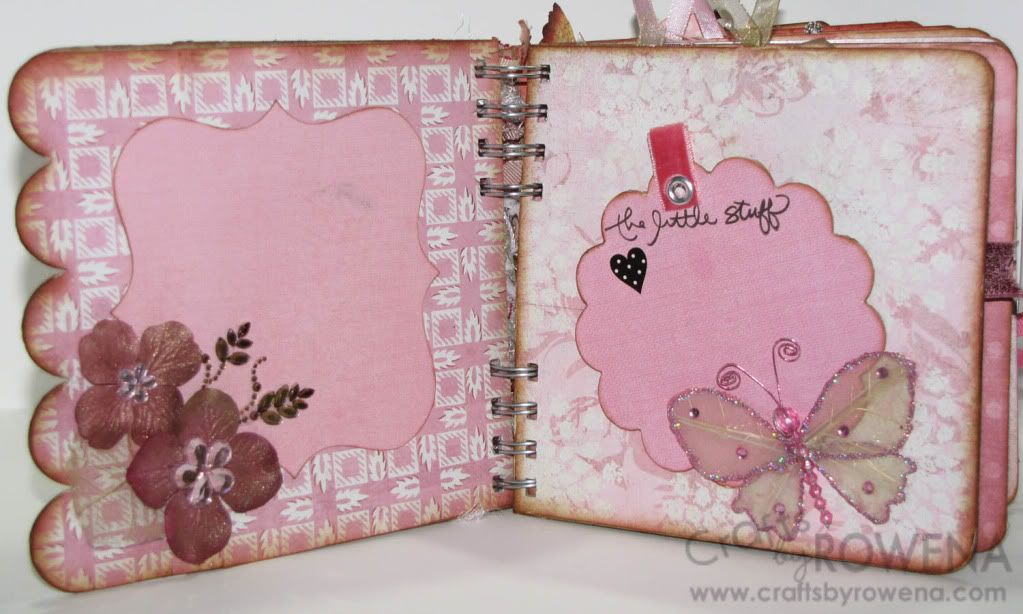
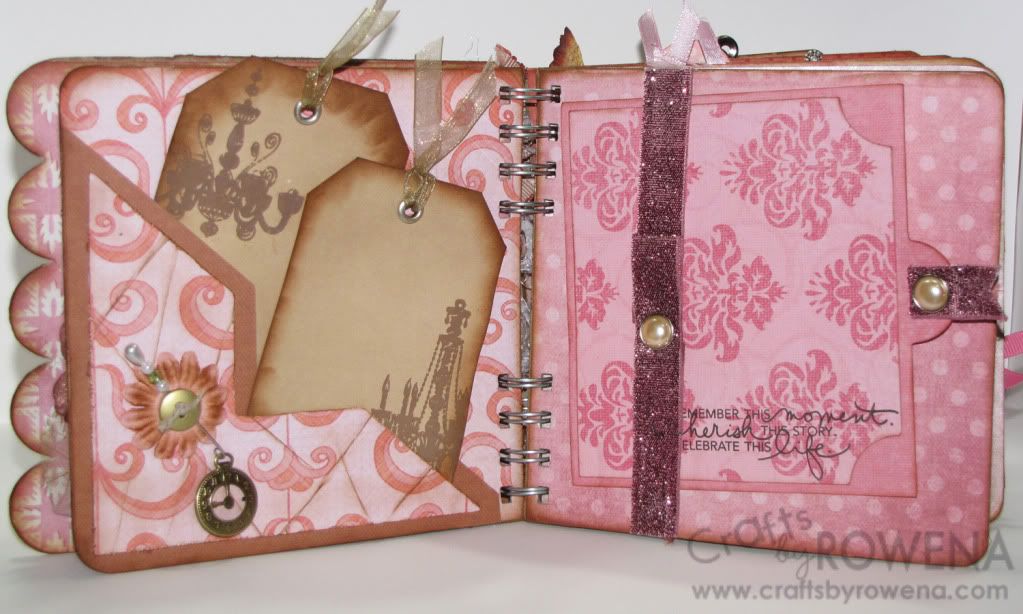
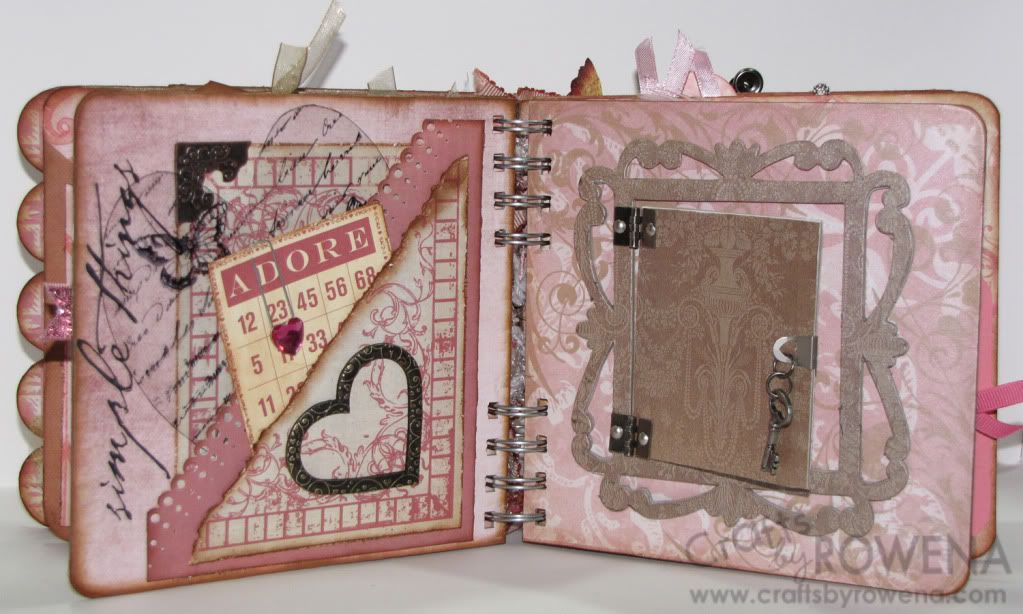
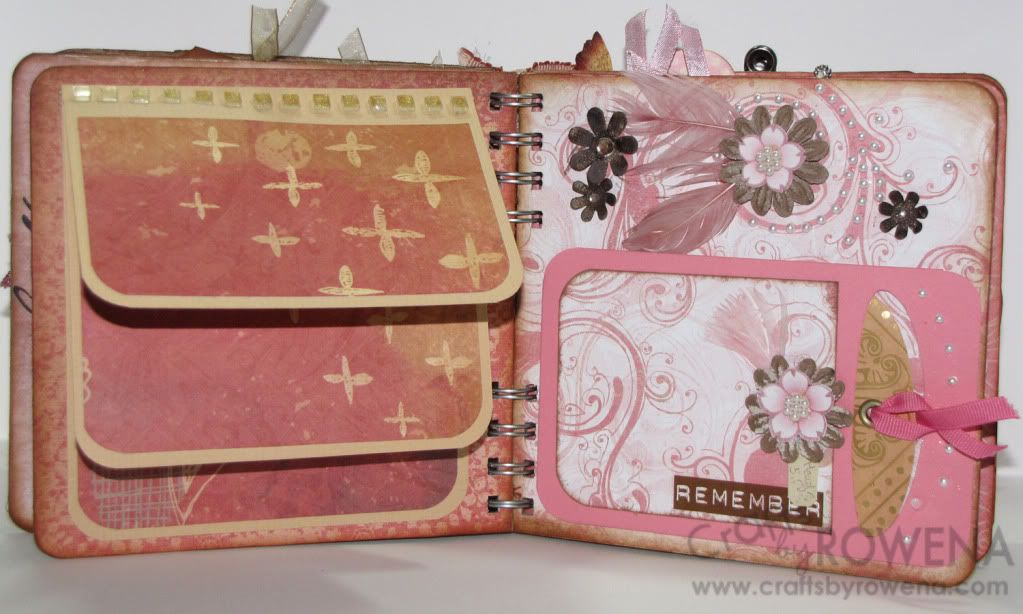
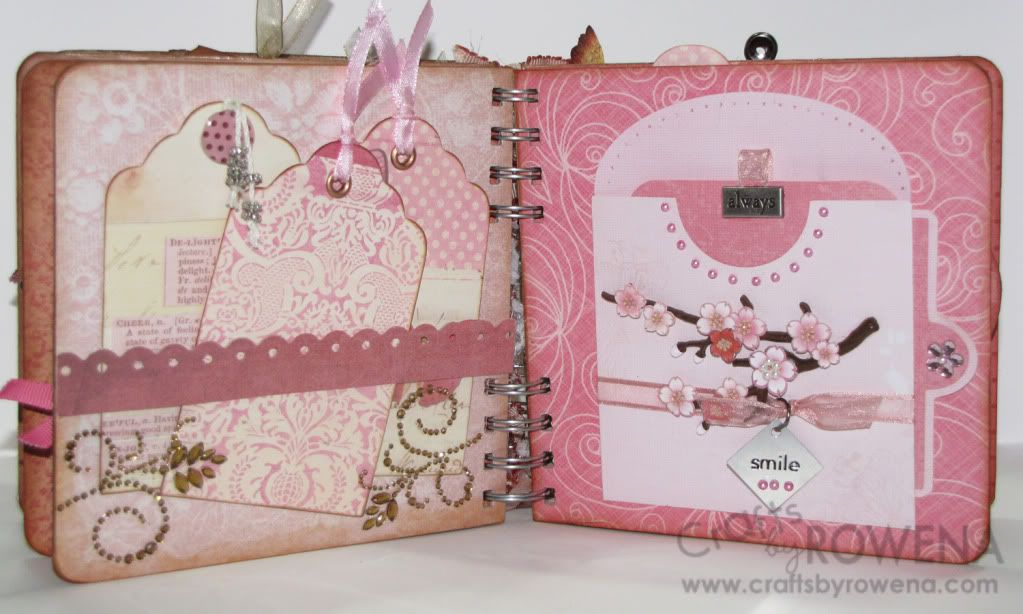
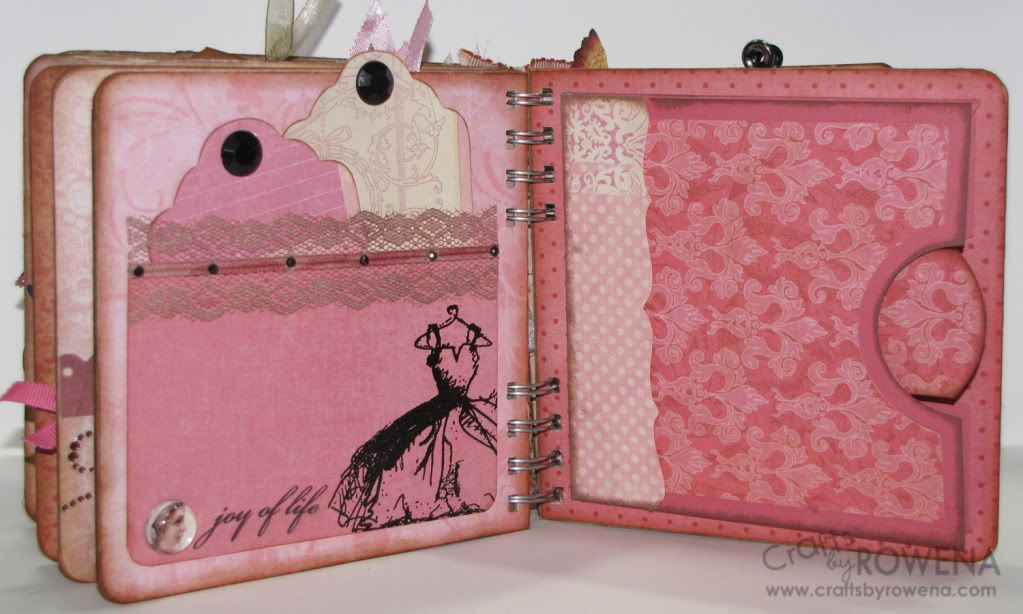
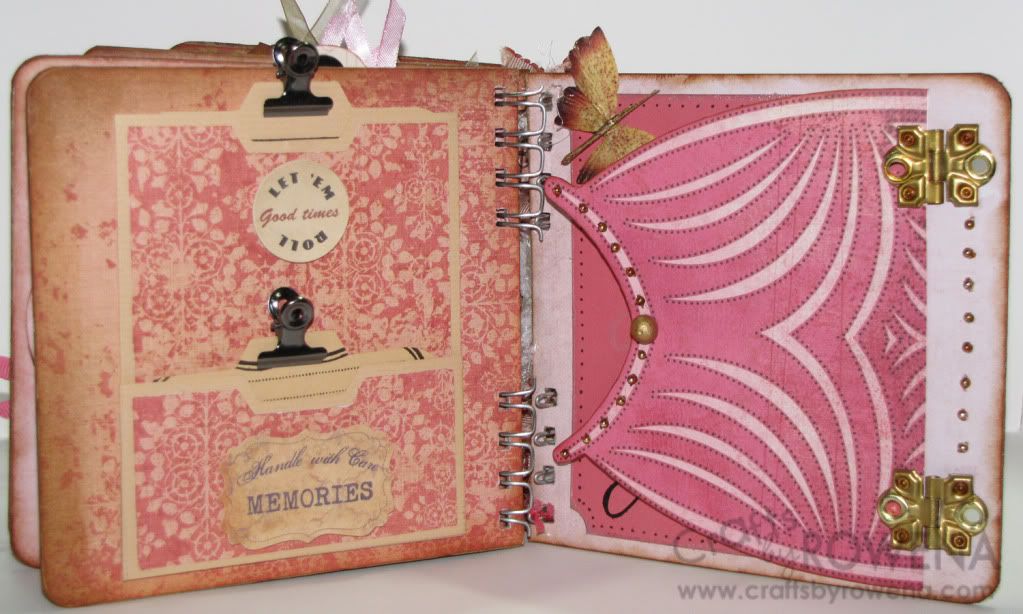
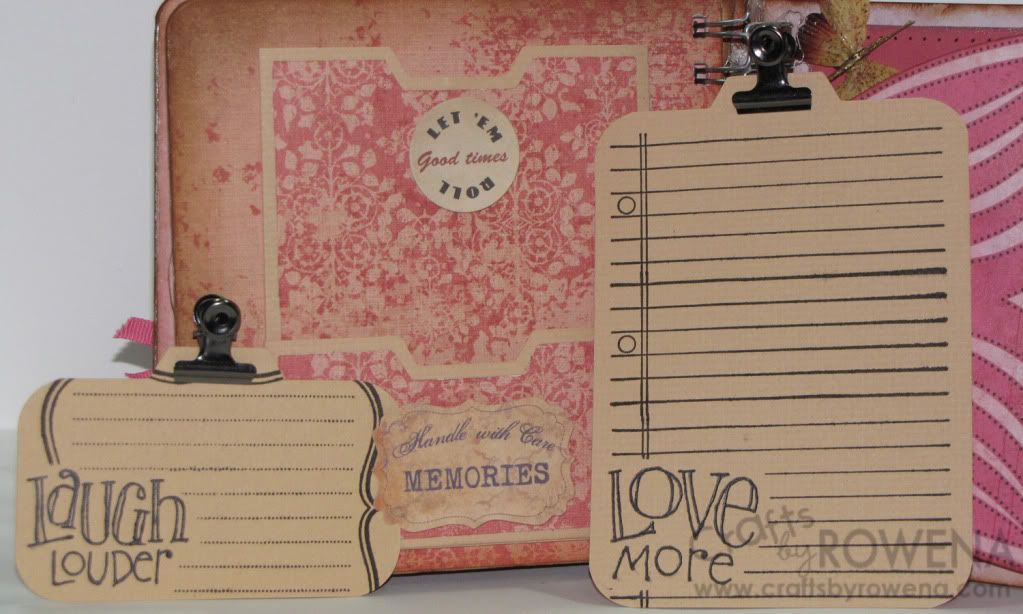
The Silent Auction I participated in a while back was very successful. I had given you a sneak peak of the pink mini album so now I would like to show you some close up photographs and the videos I made of how I put the pink mini together. I hope it inspires you.


Pink Mini [Part 1]


Pink Mini [Part 2]


I know that the last few frames of the part 2 of the video was lost so here are some even closer close ups.


Thanks for stopping by! Have a great weekend.!

- Let your memories feed your creativity™